Title here
Summary here
You can store virtual server data remotely to gain advantages over local storage. SolusVM supports Shared LVM Storage using iSCSI targets for storing data.
This document explains how to add Shared LVM Storage to your SolusVM cluster.
Add Shared LVM Storage in three parts:
Note:
To configure an iSCSI initiator on a Compute Resource:
apt install open-iscsi multipath-tools lvm2-lockd sanlockyum install iscsi-initiator-utils device-mapper-multipath lvm2-lockd sanlockNote:
We strongly recommend sanlock for locking and cannot guarantee that using another lock manager will not cause issues.
Start, enable, and configure the iscsid service:
systemctl start iscsid
systemctl enable iscsid
iscsiadm -m discovery -t sendtargets -p <IP address[:port]>
iscsiadm -m node -L all
iscsiadm -m node --op update -n node.startup -v automatic
Substitute the IP address of the iSCSI target’s portal for <IP address>. If the [:port] parameter is omitted, the system uses the default 3260 value.
Edit the /etc/lvm/lvm.conf file and set the use_lvmlockd parameter to 1. The line must look like this:
use_lvmlockd = 1Edit the /etc/lvm/lvmlocal.conf file and set the host_id parameter. The parameter must be a number between 1 and 2000, and must be unique for every Compute Resource. For example, you can use host_id = 1 for one Compute Resource, host_id = 2 for another, and so on.
Start, enable, and configure the multipathd service:
systemctl start multipathd
systemctl enable multipathd
Edit the /etc/multipath.conf file by adding the following lines to it. If the file does not exist, create it first and give it 644 permissions:
defaults {
    user_friendly_names yes
}
Find the wwid of the device corresponding to the iSCSI initiator and add it to the wwids file:
a. List the block devices:
lsblkb. Get the device’s WWID. Substitute the name of the device for <device name>, for example, /dev/sda:
/lib/udev/scsi_id -g -u -d /dev/<device name>c. Add the WWID to multipath. Substitute the output of the previous command (an alphanumeric string) for <WWID>, for example, 3600a0980383234526f2b595539355537:
multipath -a <WWID>d. Reconfigure multipath:
multipath -rRestart the multipathd service:
systemctl restart multipathdVerify that the multipathd service is configured properly:
multipath -llThe output should look like this:
3600a0980383234526f2b595539355537 dm-1 NETAPP,LUN C-Mode
size=300G features='3 queue_if_no_path pg_init_retries 50' hwhandler='1 alua' wp=rw
|-+- policy='service-time 0' prio=50 status=active
`- 7:0:0:0  sda 8:16 active ready running
Start and enable locks:
systemctl start lvmlockd
systemctl enable lvmlockd
systemctl start sanlock
systemctl enable sanlock
You configured the iSCSI initiator for your iSCSI target on a single Compute Resource. Repeat this procedure on every Compute Resource that will offer Shared LVM Storage using that specific iSCSI target. Make sure to give each Compute Resource a unique host_id parameter during step 4.
Once you configure the iSCSI initiator on every Compute Resource, you need to configure LVM and create volume groups.
To configure LVM and create a volume group:
On one Compute Resource only, run the following command. Substitute a name for the volume group for <vg_name> and the wwid of the device corresponding to the iSCSI initiator for <wwid>, for example, vgcreate --shared shared_vg /dev/mapper/3600a0980383234526f2b595539355537:
vgcreate --shared <vg_name> /dev/mapper/<wwid>On every Compute Resource you configured an iSCSI initiator on, run the following command:
vgchange --lock-start(AlmaLinux) On every Compute Resource you configured an iSCSI initiator on, run the following command:
vgimportdevices --allEvery Compute Resource you performed steps 2 and 3 on can now use the volume group. You can verify this by running the vgs command on those Compute Resources. The output should look like this:
VG           #PV #LV #SN Attr   VSize    VFree
shared_vg      1   3   0 wz--ns <300.00g <296.00g
The final step is to add the Shared LVM Storage in SolusVM.
To add Shared LVM Storage:
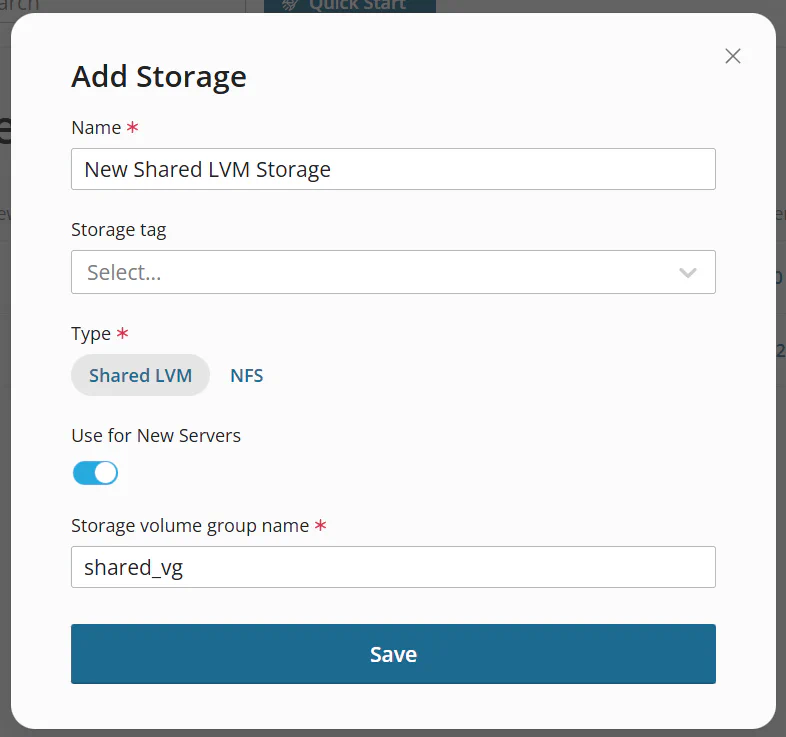
Go to Storage, and then click Add Storage.
Give your storage a name.
(Optional) Select a Storage tag.
Set the Type parameter to Shared LVM.
Specify the volume group name you set when creating the volume group.
Click Save.
You added Shared LVM Storage. You can now assign it to Compute Resources.