Title here
Summary here
Plans define the resources and configuration options available to virtual servers in SolusVM. You can restrict which operating systems, applications, and image presets are available for each plan, and use image presets to manage these options across multiple plans efficiently.
You can restrict the operating systems and applications that can be installed on a server associated with a specific plan. This is done by selecting specific operating systems, applications, and image presets when creating or editing a plan. Those that are not selected become unavailable for installation with the plan. We call them restricted.
Go to Compute Resources > Plans.
You can restrict installation options while editing an existing plan or creating a new one:
Scroll down to the Operating Systems field. We will use this field as an example:
If the field is empty (no items are selected), customers can install any operating system.
If the field has selected items, customers can only install these selected operating systems (Ubuntu 24.04 and Debian 12 in the example below).

The same logic applies to the Locations, Image presets, and Applications fields.
Click Save.
An image preset is a predefined group of operating systems and/or applications, which can be assigned to one or more plans. With image presets, you can manage operating systems and applications for multiple plans at once.
You have created the image preset. You can now assign it to one or more plans.
Go to Compute Resources > Plans.
You can assign an image preset while editing an existing plan or creating a new one:
Select the desired image presets from the corresponding dropdown menu.
Click Save.
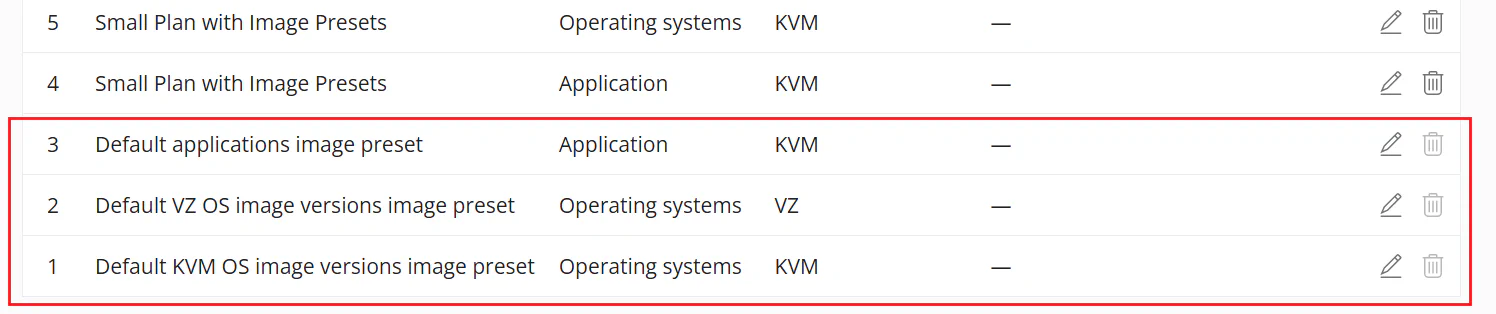
SolusVM automatically generates default image presets, which include all existing operating systems and applications. These presets are updated as new operating systems and applications are added to the system.
Default image presets have titles like “Default …” and cannot be deleted because the
![]() icon is inactive.
icon is inactive.