Title here
Summary here
You can configure swap space as a customizable option for SolusVM VZ container products in WHMCS. This allows customers to select their desired swap space allocation when ordering.
Note:
This option is applicable only for VZ virtualization.
To configure swap space as a customizable option:
Log in to your WHMCS administrator web interface.
Navigate to System Settings > Configurable Options.
The following image shows the configurable options interface:
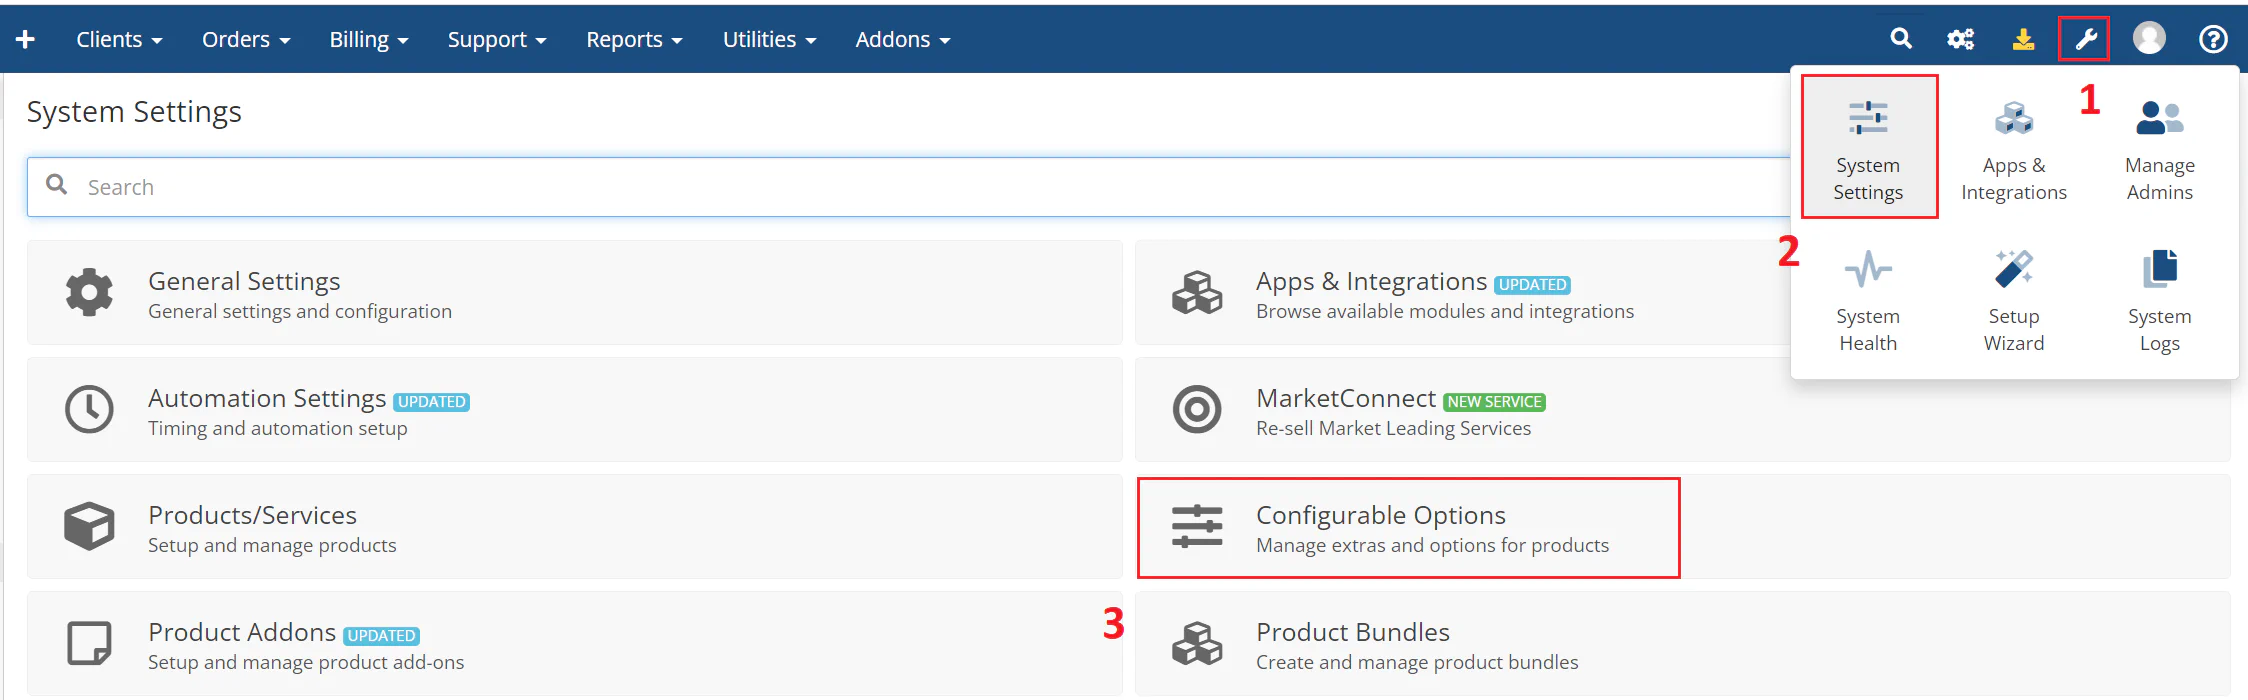
Click Create a New Group or select an existing group.
Note:
Keep the configurable option group for resource selection separate from other groups. You can use one configurable option group for several resources, but do not mix them with Operating System, Application, or Location.
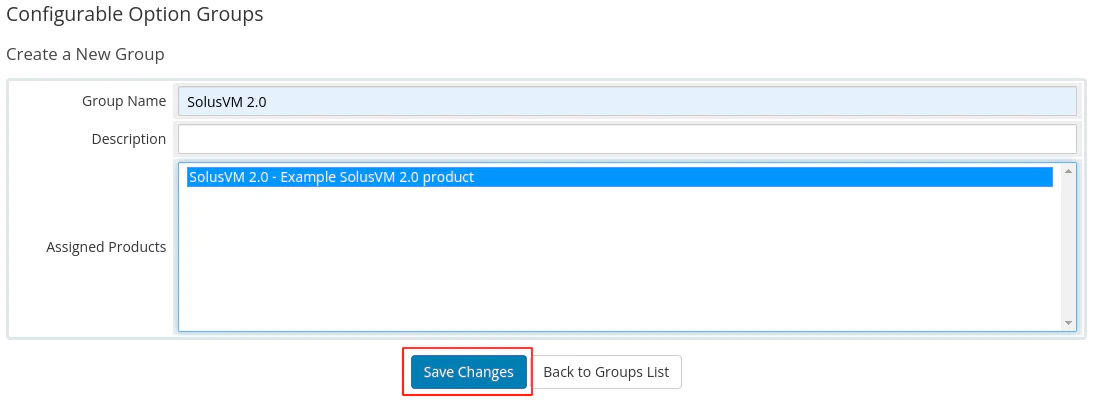
Enter a name for your group, select the product you created earlier to assign to the group, and then click Save Changes.
The following image shows the group configuration:
Click Add New Configurable Option.
The system opens a new browser window where you specify the option settings.
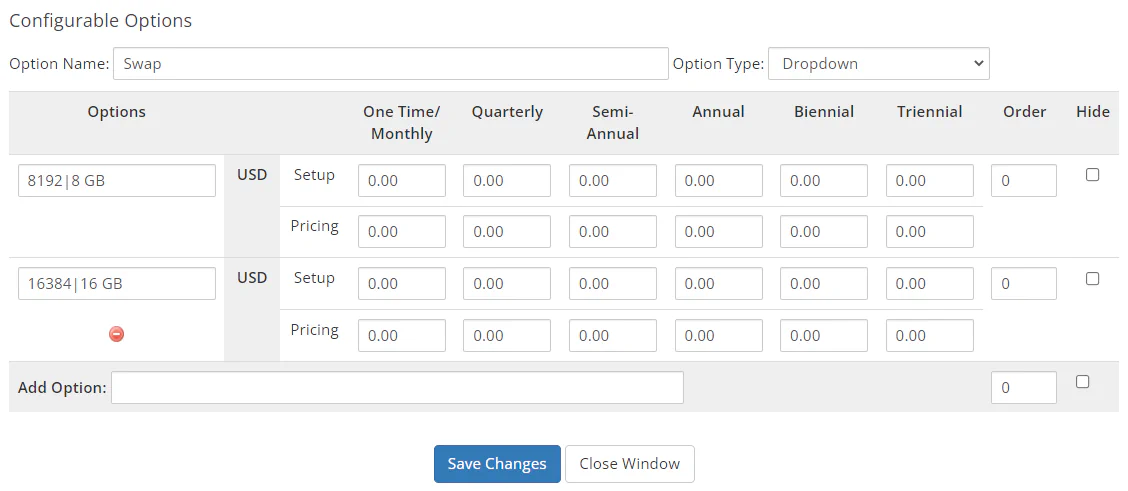
Enter Swap in the option name field and select Dropdown as the option type.
In the Add Option field, enter the option value following the pattern: SWAP_VALUE|RESOURCE_NAME, and then click Save Changes. The pattern components are:
SWAP_VALUE — The amount of swap space in MB you want to allocate for the SolusVM VZ container.RESOURCE_NAME — The name of the resource option to display in WHMCS.In this example, options are added to select 8 GB of swap (SWAP_VALUE 8192) or 16 GB (SWAP_VALUE 16384) as a configurable option.
Repeat the previous step for each swap option you want to offer. Once finished, click Close Window.
The following image shows the swap configuration: