Title here
Summary here
This topic explains how to install the SolusVM Management Node. The Management Node lets you manage your cluster through the Administrator and Client web interfaces and via the REST API.
You can install the Management Node on a physical or virtual server that meets these requirements:
| Requirement | Details |
|---|---|
| OS | AlmaLinux 9, AlmaLinux 10, Debian 11, Debian 12, Debian 13, Ubuntu 22.04, Ubuntu 24.04 |
| CPU | Minimum 4 cores/8 threads |
| RAM | Minimum 4 GB Recommended 8 GB |
| Free disk space | Minimum 40 GB |
| Allowed connections to ports | TCP 443 (web server) TCP 5671 (RabbitMQ messaging service) |
Note:
The Management Node cannot run on a virtual server based on Xen.
To install the SolusVM management node, follow these steps:
curl https://installer.dev.solusvm.com/latest -o installerchmod +x ./installer./installerAfter installation, the system displays your login, password, and a one-time login link. Use this link to log in to the SolusVM Administrator web interface for the first time.
Note:
When you log in to SolusVM for the first time, you may see a warning about an untrusted SSL/TLS certificate. If you specified an internal IP address during the installation, SolusVM secures the connections to and from the web interface with a self-signed SSL/TLS certificate. Otherwise, Solus VM uses a free SSL/TLS certificate from Let’s Encrypt is used. In either case, the connections to and from the web interface are securely encrypted.
To log in to SolusVM after the first login:
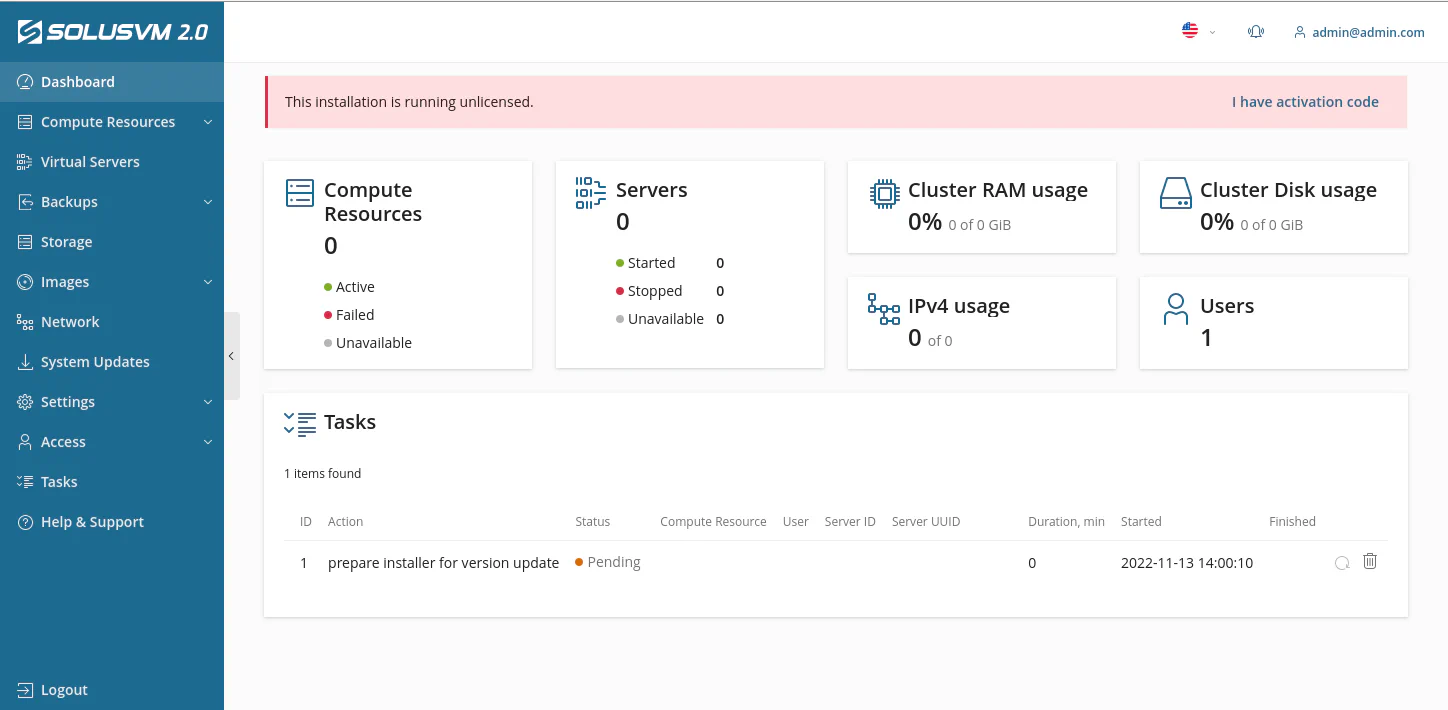
https://<management-server-hostname>/admin or https://<management-server-IP>/admin.You have logged in to the SolusVM Administrator web interface.
SolusVM is installed to the /usr/local/solus directory.
Check logs if you face any issues during SolusVM installation or administration:
/var/log/solus directory./var/log/messages (CentOS) or /var/log/syslog (Debian®, Ubuntu).You installed SolusVM, set it up as the administrator, and created a server as a customer. Consider these next steps: