Title here
Summary here
To configure the SolusVM module in WHMCS, you must generate an API token in SolusVM and then add your SolusVM server to WHMCS. This establishes the connection between WHMCS and your SolusVM management node.
To generate an API token in SolusVM:
Log in to the SolusVM administrator web interface.
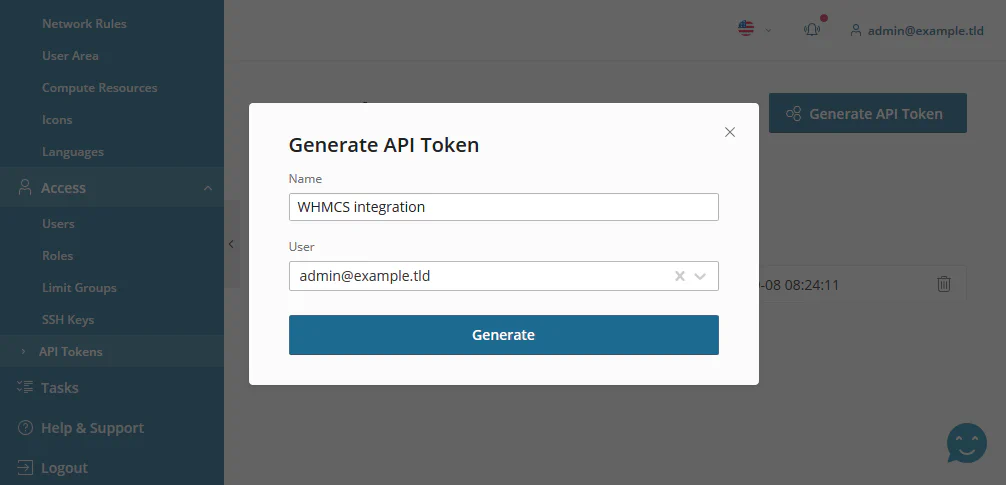
Navigate to Access > API Tokens > Generate API Token.
Enter a name in the Name field.
Click Generate, then copy and save the generated token in a secure place.
Warning:
After you click Copy & Close it is not possible to view the token.
The following image shows the API token generation interface:
To add the SolusVM server to WHMCS:
Log in to the WHMCS administrator web interface.
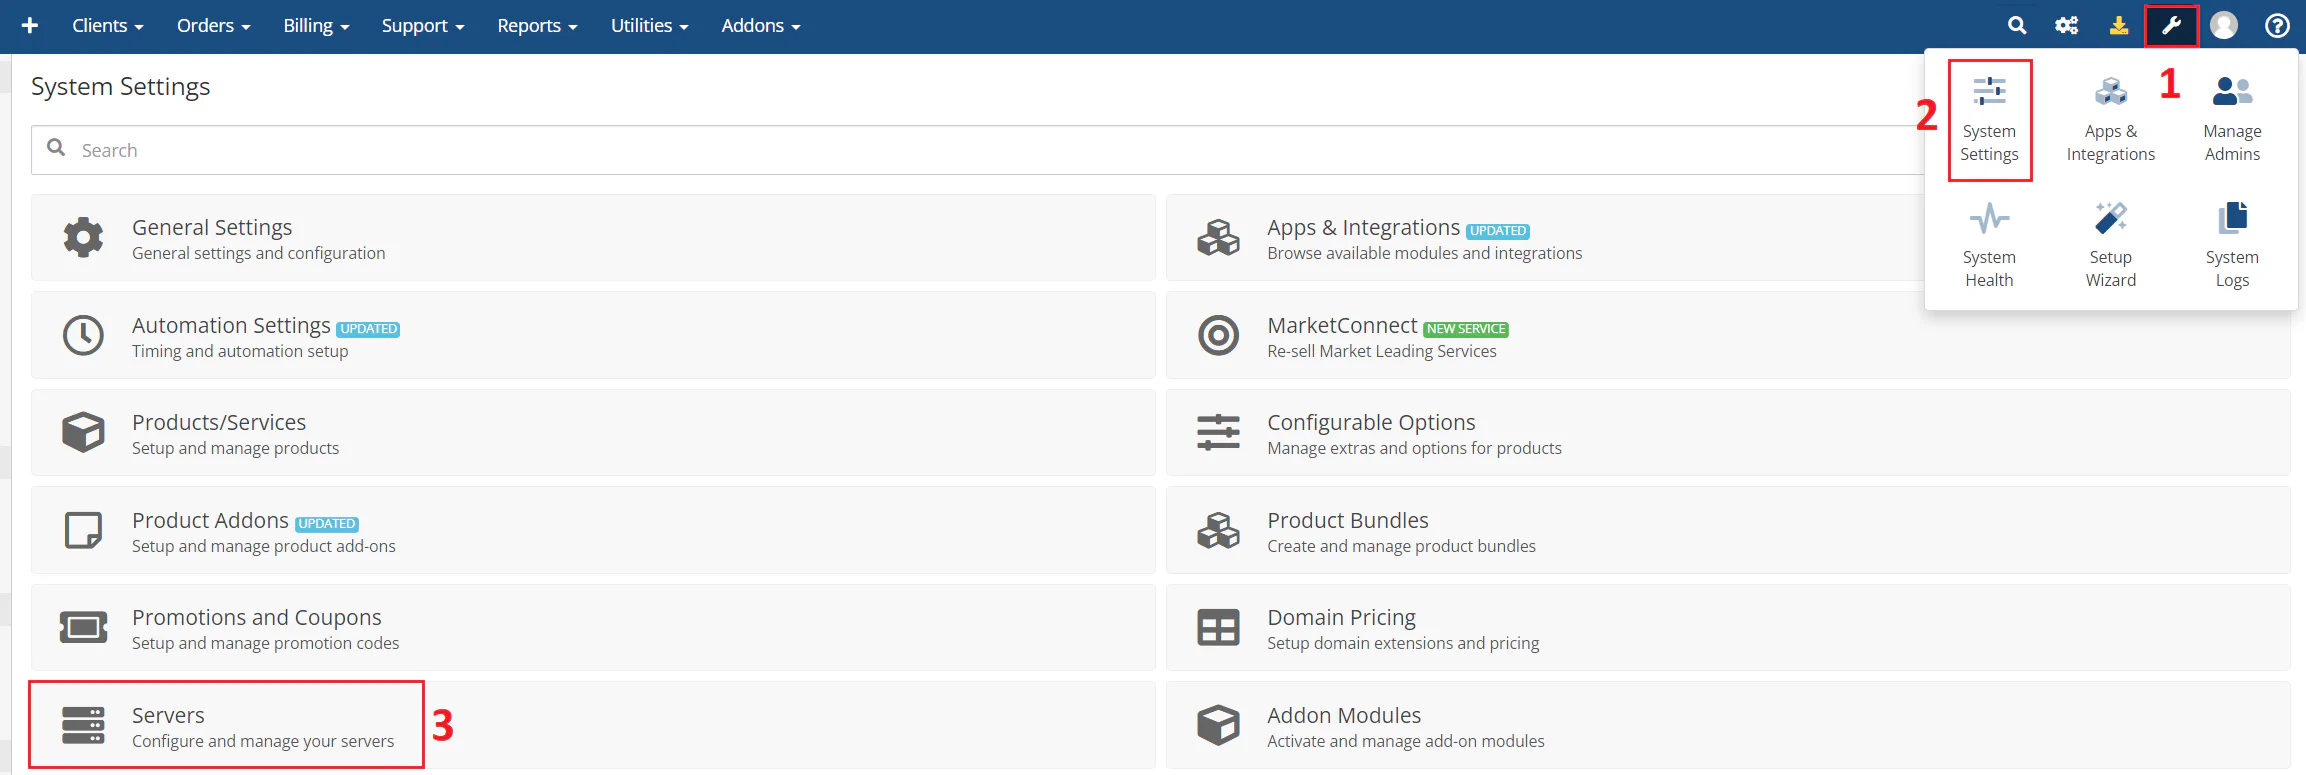
Navigate to WHMCS > System Settings > Servers > Add New Server.
The following image shows the server addition interface:
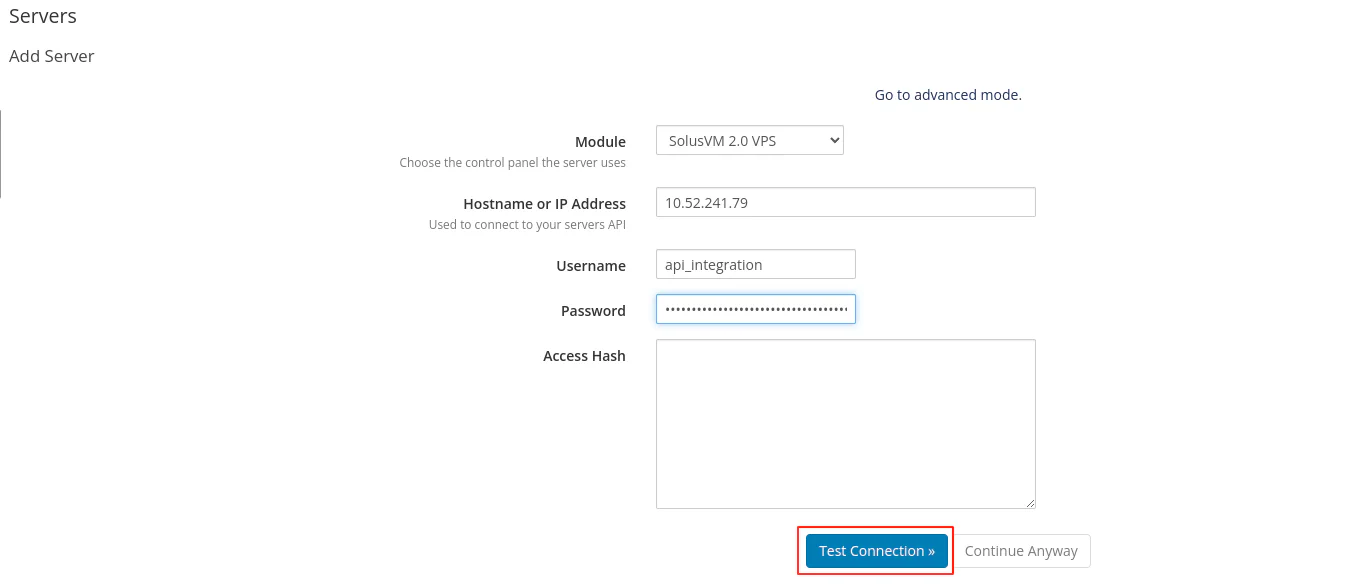
Select SolusVM VPS in the Module dropdown list.
Enter the IP address or hostname of your SolusVM management node in the Hostname or IP Address field.
Copy the API token from step 4 in the previous section and paste it into the Password field.
Click Test Connection.
The following image shows the server configuration form:
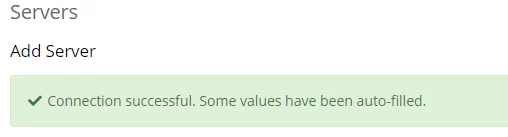
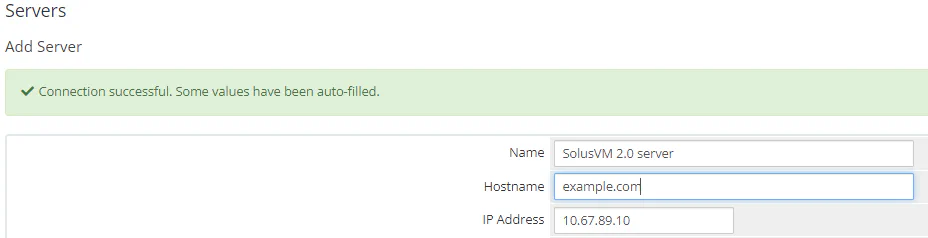
If the server settings are correct and WHMCS can connect to the SolusVM management server, the system displays the following success message:
The page displays three sections: Add Server, Nameservers, and Server Details. Configure the following settings in the Add Server section:
The following image shows the server details configuration:
Click Save changes.
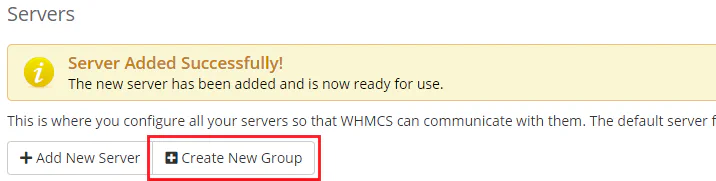
To create a server group in WHMCS:
Navigate to WHMCS > System Settings > Servers > Create New Group.
The following image shows the server group creation interface:
Configure the server group settings:
The following image shows the server group configuration:
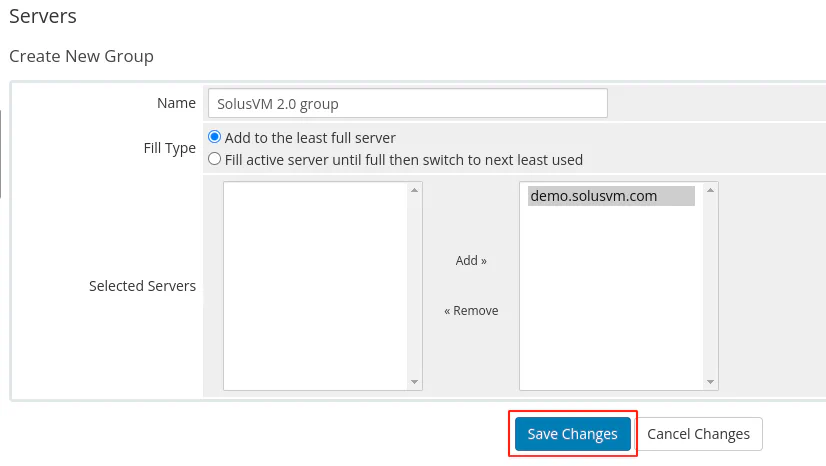
Click Save Changes.