Title here
Summary here
If issues occur with a user’s server, the user can usually connect to the server via SSH and execute commands to fix the issues. However, certain malfunctions prevent the server from booting and make it externally inaccessible. It becomes impossible to access the server via SSH and the only way to recover the server is to use Rescue Mode.
Enabling Rescue Mode makes the server externally accessible again. The user can then do the following:
To recover a server with Rescue Mode:
Go to https://<management-server-hostname>/login or https://<management-server-IP>/login.
Under the desired project, click … servers, for example, 2 servers.
Click the name of the server you want to recover.
Go to the Rescue tab and then click Boot from Rescue ISO.
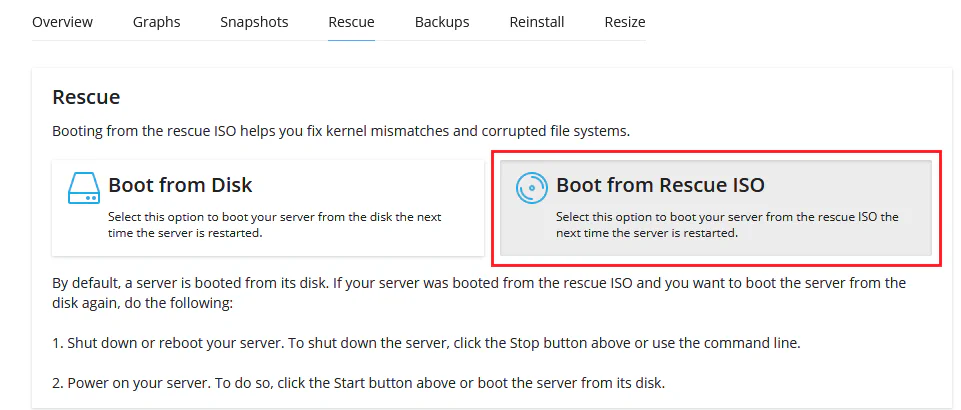
The Rescue ISO image is the default boot disk with Ubuntu 20.04.
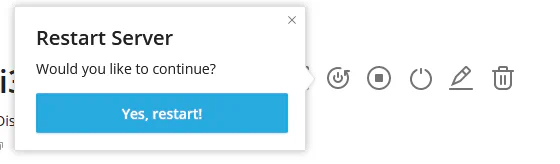
Reboot the server. To do so, in the top right corner of the screen, click the
![]() icon and then click Yes, restart!.
icon and then click Yes, restart!.
Wait a while until the server is rebooted in Rescue Mode from the Rescue ISO image.
Access the server command line via SSH.
To do so, you can use an SSH client or the VNC console in the SolusVM interface.
To open the VNC console, in the top right corner of the screen, click the
![]() icon.
icon.
Log in as root. You can use the root password or the SSH key pair.
You’re logged in. At the moment, the server disk is inaccessible from the server file system because Rescue Mode launches its own temporary file system. To make the server disk accessible, you need to locate the server disk partition and mount it to the Rescue Mode file system.
To locate the server disk partition, run the lsblk command. The output may look like the following:
# lsblk
NAME    MAJ:MIN RM  SIZE RO TYPE MOUNTPOINT
loop0     7:0    0  554M  1 loop /rofs
sda       8:0    0   30G  0 disk
├─sda1    8:1    0 29.9G  0 part
├─sda14   8:14   0    4M  0 part
└─sda15   8:15   0  106M  0 part
sr0      11:0    1  649M  0 rom  /cdrom
sr1      11:0    1  4.9M  0 rom
The server disk partition matches the /dev/sdX pattern and is about the size of the server disk.
In the example output shown above, /dev/sda1 is the partition we need.
Note:
The displayed device partitions may differ from the example depending on your server type or model.
Create the mount point directory in the /mnt directory. In our example, the command will be the following:
mkdir /mnt/sda1Mount the partition you located during step 8 to the mount point directory.
In our example, the command will be the following:
mount /dev/sda1 /mnt/sda1
You now have access to the server disk and can recover the server. For example, you can perform recovery operations or migrate the server data.
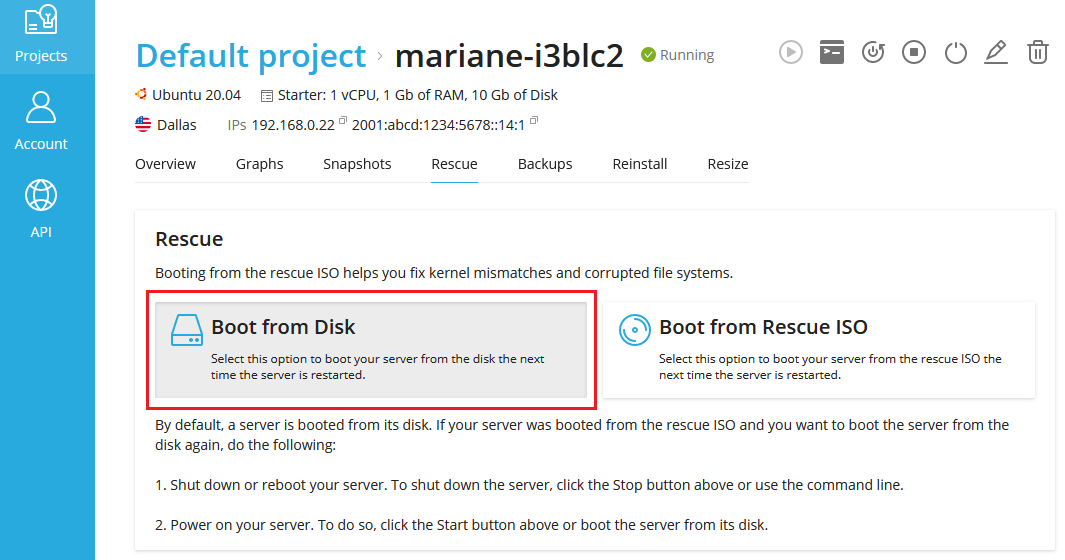
Once you recover the server, turn off Rescue Mode by clicking Boot from Disk.
Rescue Mode needs a Rescue ISO image from which an inaccessible server is booted. The default Rescue ISO image with Ubuntu 20.04 is available in SolusVM out of the box.
However, you may want to have a branded Rescue ISO image or to install additional software on it. In this case, you need to create your own custom Rescue ISO image. Learn how to create one in this KB article