Title here
Summary here
Additional disks help you get more disk space without having to switch to another plan and paying for resources you are not going to use, such as CPU, RAM, and so on. Instead, you can choose an offer and pay only for extra space you need.
This topic explains how to add, resize, change the name, and delete an additional disk from an existing virtual server.
Consider the following before working with additional disks:
You can add an additional disk on an existing virtual server or while creating a new one. You can add up to 22 additional disks to one virtual server. The following steps show how to create an additional disk on an existing server:
Go to Virtual Servers > your server, and then go to the Disks tab.
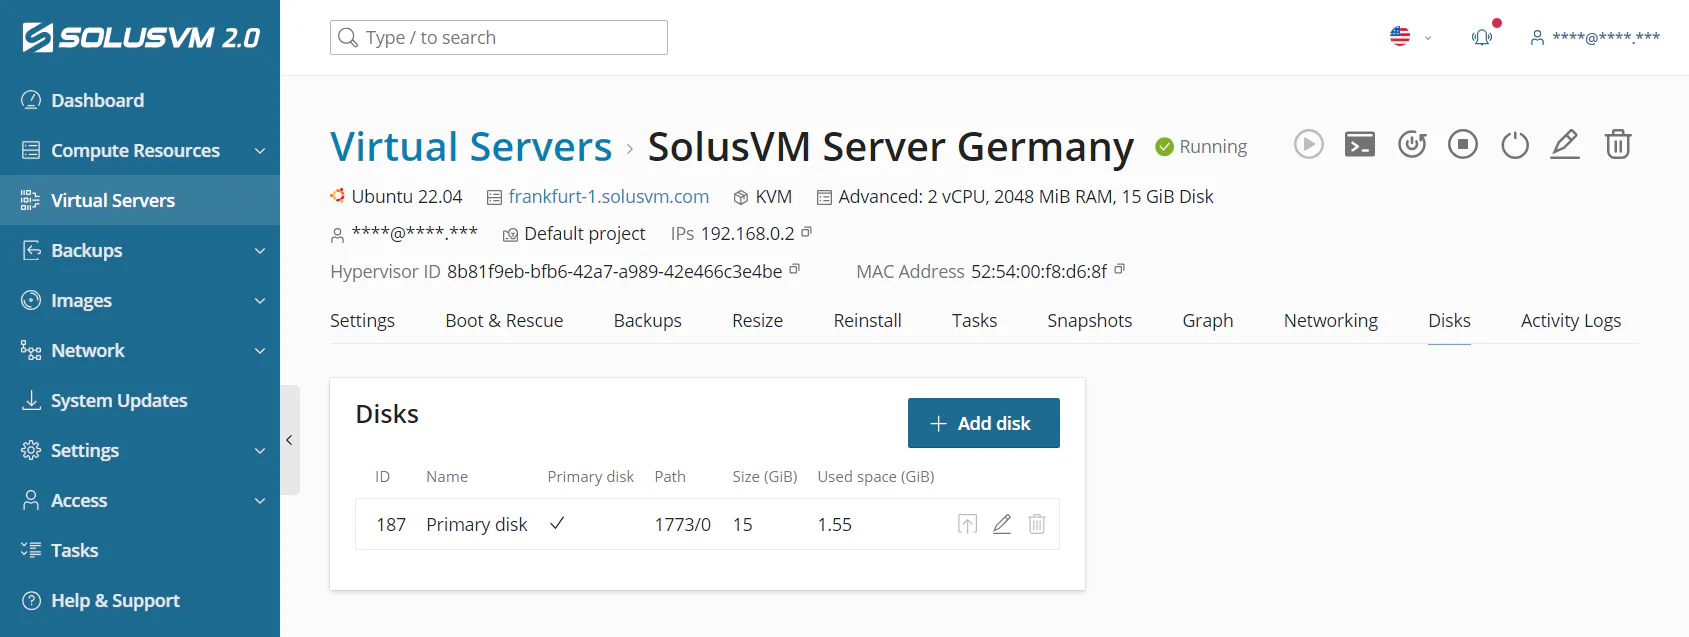
Click Add disk.
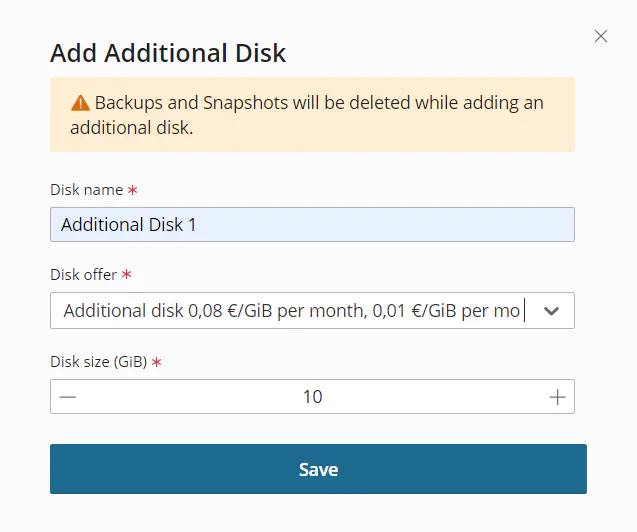
Give your disk a recognizable name.
Select an offer for additional disks.
Note:
While creating an additional disk offer, the SolusVM administrator can set limits on its maximum size, read/write bandwidth, and input/output operations per second.
Set the volume size for your additional disk (in GiB).
Click Save.
SolusVM creates the additional disk on your virtual server.
After the system creates the disk, you need to create and mount a file system for it. Follow these steps:
lsblk command.mkdir /mnt/<disk_name> command.mkfs.xfs /dev/<disk_name> command.mount /dev/<disk_name> /mnt/<disk_name> command.Now your additional disk is mounted on your server and ready for further use.
You can change the name or size of an additional disk. Follow these steps:
Go to Virtual Servers > your server, and then go to the Disks tab.
Do one of the following:
You can delete an additional disk from your server if you no longer need it. All the data stored on an additional disk will be permanently deleted along with the disk and you will not be able to restore it using backups and snapshots. After you delete an additional disk, SolusVM will stop charging the server owner for that disk.
To delete an additional disk:
lsblk command.unmount /dev/<disk_name> command.The system deletes the additional disk and stops charging the server owner for its usage.